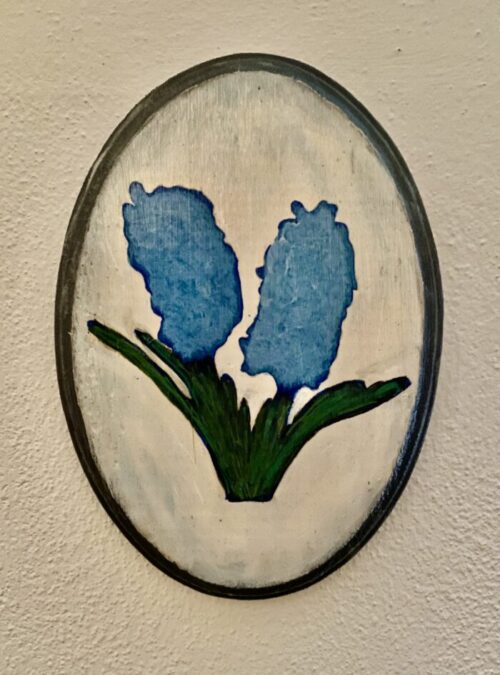
I got the idea for this one from those old Victorian necklaces. I was initially going to do it all one color like white or blue, but I decided last minute I wanted to make it more realistic. I am happy with the final product.
[Note: This SVG design is available for purchase in my Etsy shop. It is included in the Spring bundle. Find link below.]
Tools Used:
Removable Vinyl
Transfer Paper
Weeder Tool
Trimmer OR Scissors
Cutting Machine (I use Cricut Maker 3)
Oval Wood Piece
Acrylic Paint
Brushes & Sponge Brushes
Paint Markers
Cricut Cutting Mat
Sand Paper

STEP ONE: Sand the wood. This wood piece was a little rough around the edges so I took some sand paper and softened it up.

STEP TWO: Design space was super easy as this design is a simple silhouette. I measured to make the size fit and then cut. I then put the transfer paper on and smoothed it onto the wood piece. while I do enjoy complex multiple layer designs, sometimes the simple and easy is a nice change.
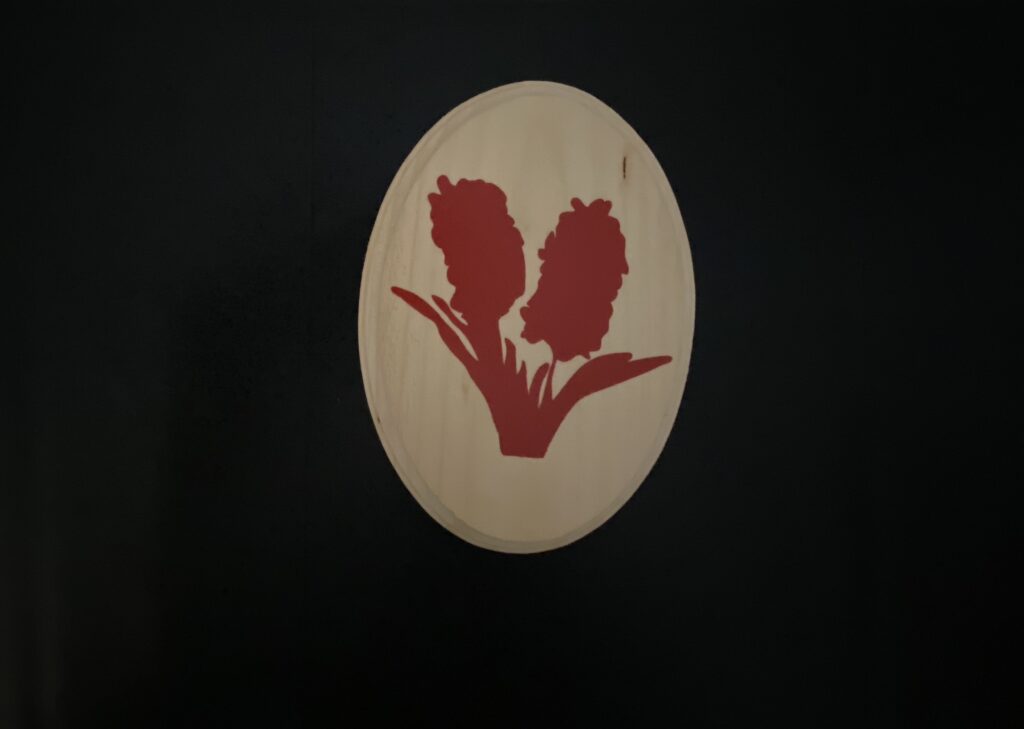

STEP THREE: Paint! I started with painting the outside of the wood piece grey to make it look like a frame. I then painted the top white. Once everything dried, I proceeded to step four.
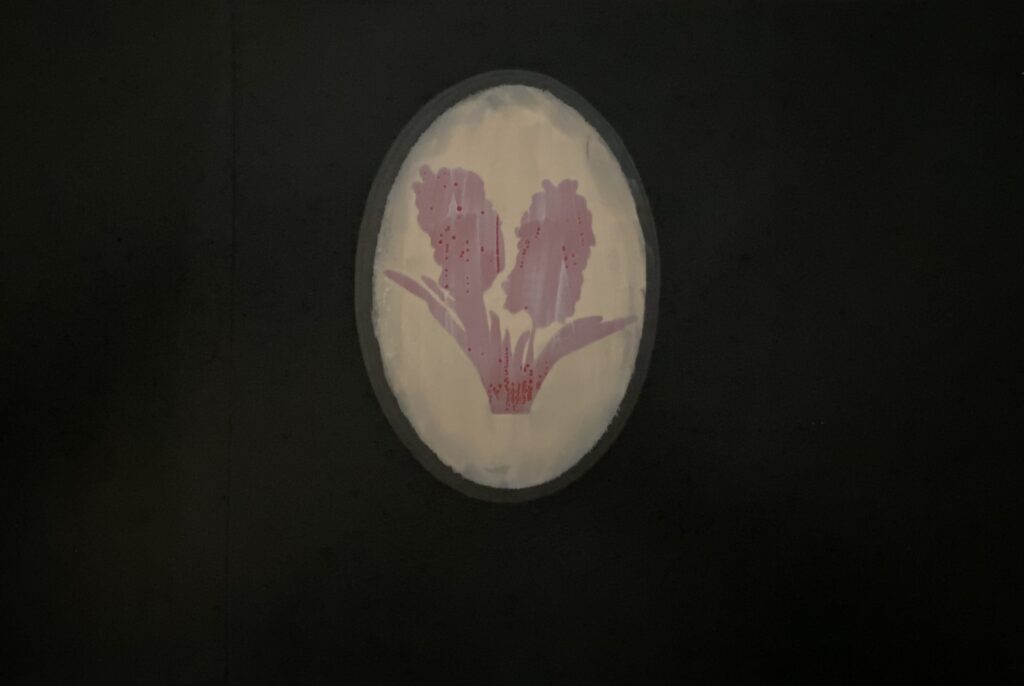

STEP FOUR: Peel! I carefully peeled off the vinyl and crossed my fingers for minimal paint bleed. The finger crossing worked because it came out beautiful! Usually wood does pretty well, but you never know. I did a combination of painting and paint markers on the flower design to get the desired look I was going for. I am glad I went with blues instead of white. Blue Hyacinths are just gorgeous!
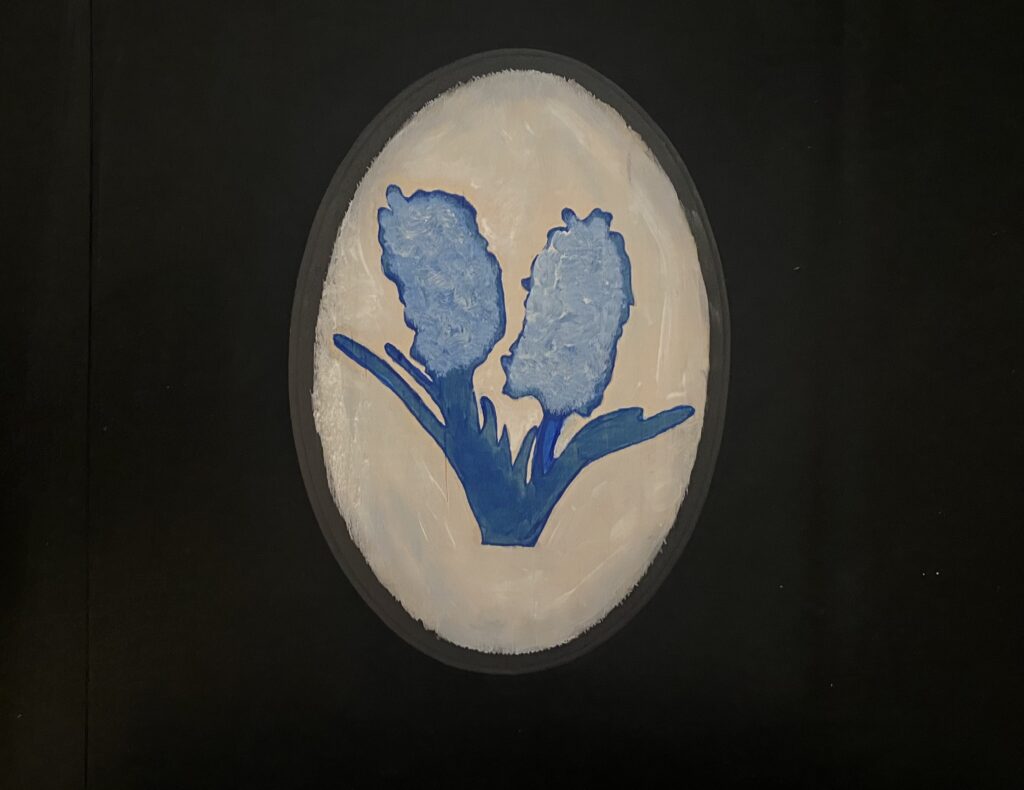
STEP FIVE: The next day I sealed with glossy Mod Podge and applied with a brush sponge. Once that was dry. I hammered in a picture hanger. I love these hangers as the nails are attached and I don’t have to handle itty bitty nails that I find too difficult to hold steady and hammer. They work great and take second to attach. I am all about quick and simple.

If you would like to see the creation of this project in action, check out my YouTube channel.

